こんにちは!サンクチュアリー本店 代表の中村です。
Hello Everyone! I am Nakamura, representative director of Sanctuary’s headquarters.
ラスベガス在住 Mr.A Diazからお預かりした GSX1000Sカタナ
(Part‐9)です!
This is GSX1000S Katana (Part-9) shipped from Mr. A Diaz in Las Vegas!
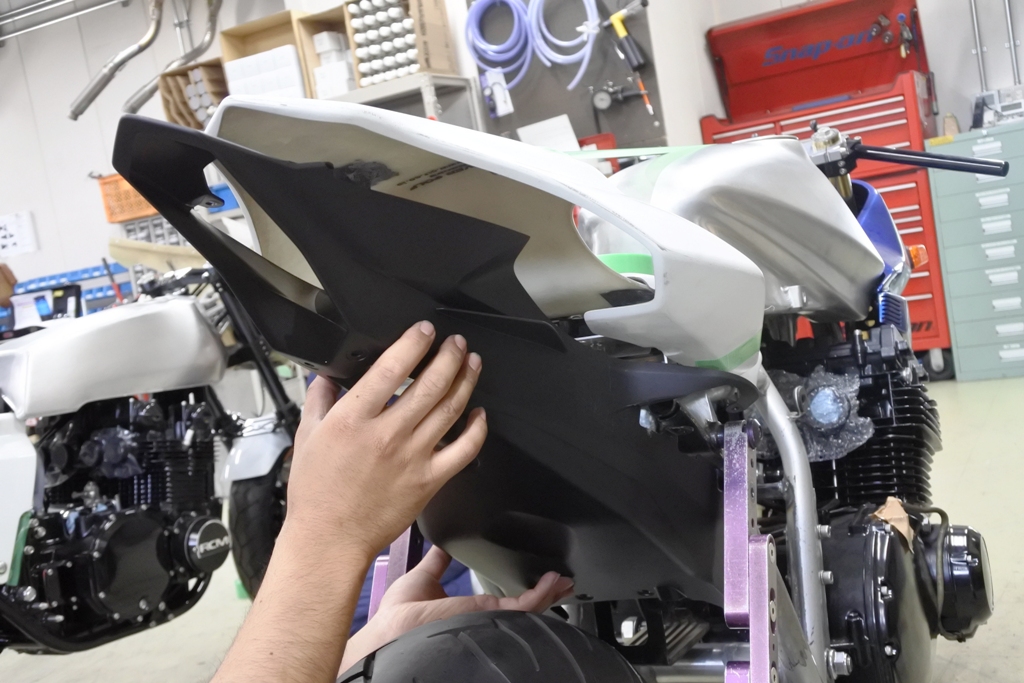
ようやくシートカウルの取り付け構想まで辿り着いた、RCM-500 カタナ。
RCM-500 KATANA, which has finally reached the plan of installing the seat cowl.
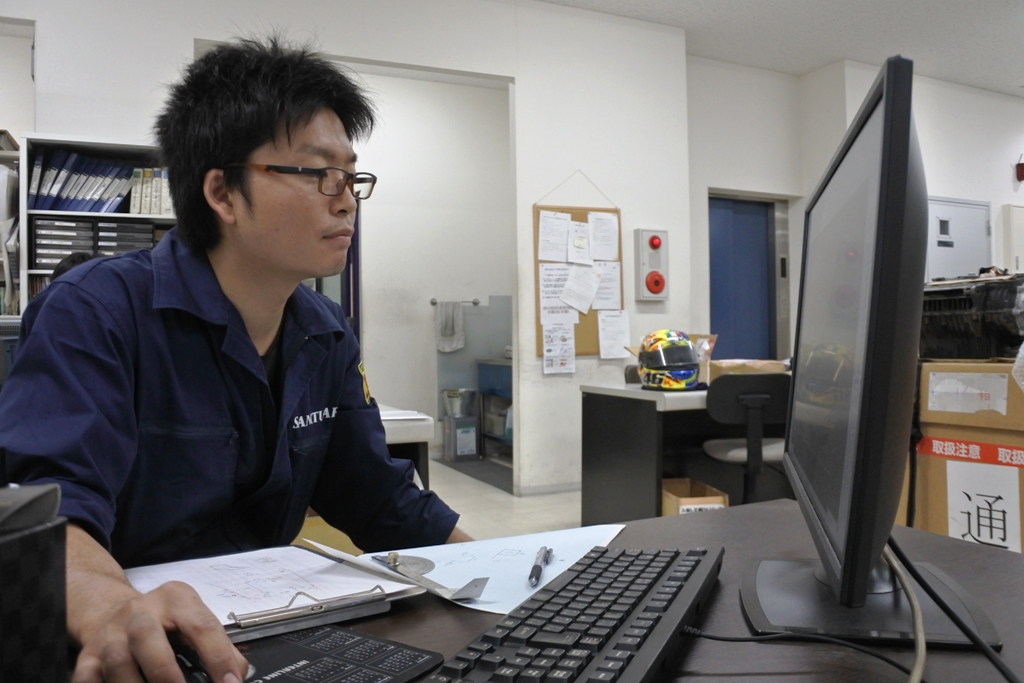
とにかくワンオフで造るものが山ほどあって、丁寧に一つひとつ図面作成して
行くしかありません。
Anyhow, there are many parts to create, and we have no choice other than drawing a plan for each.
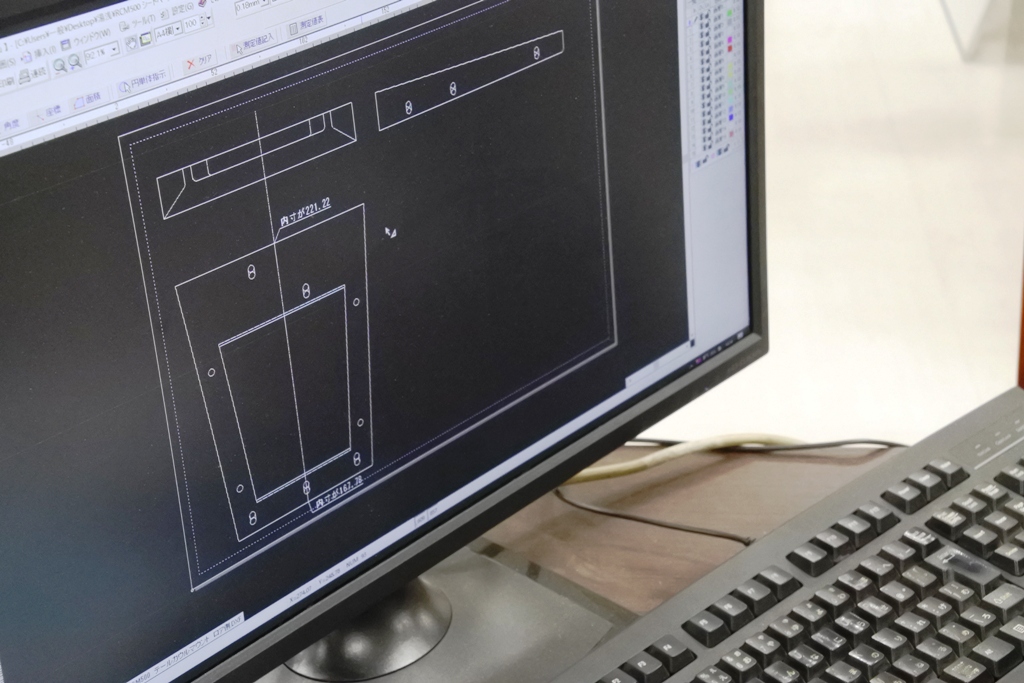
キャドでの製図が一日中、延々と続きます・・・
Drawings using CAD are succeeding one after another.
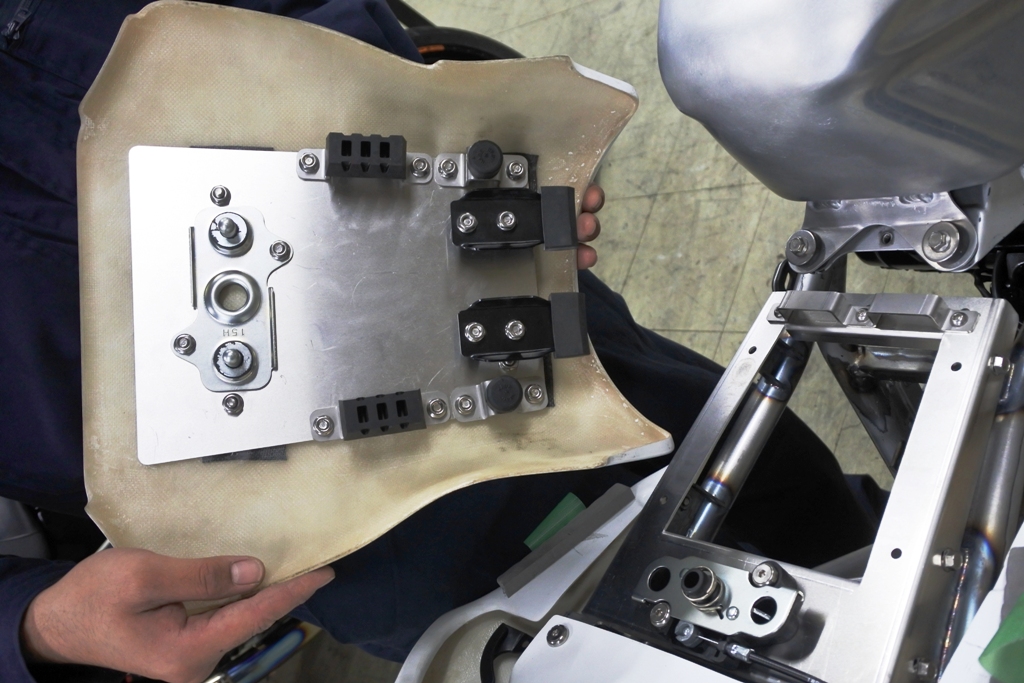
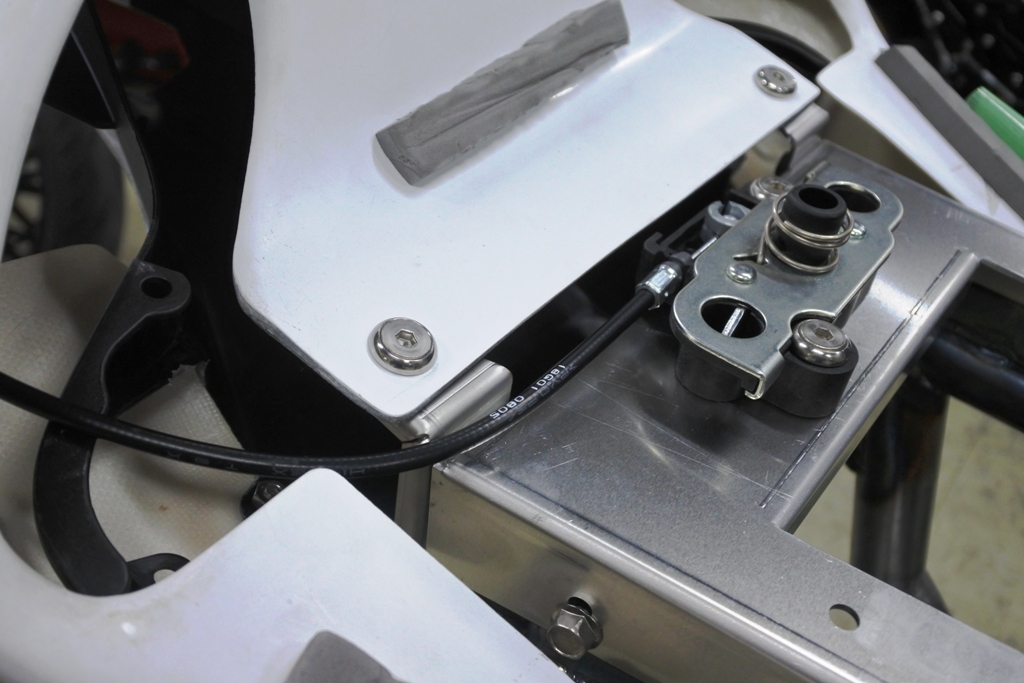
脱着式シートの下に取り付けされるストライカーフックのベースプレートが完成。
Here is the base plate of the striker hook that will be attached under the removable seat.
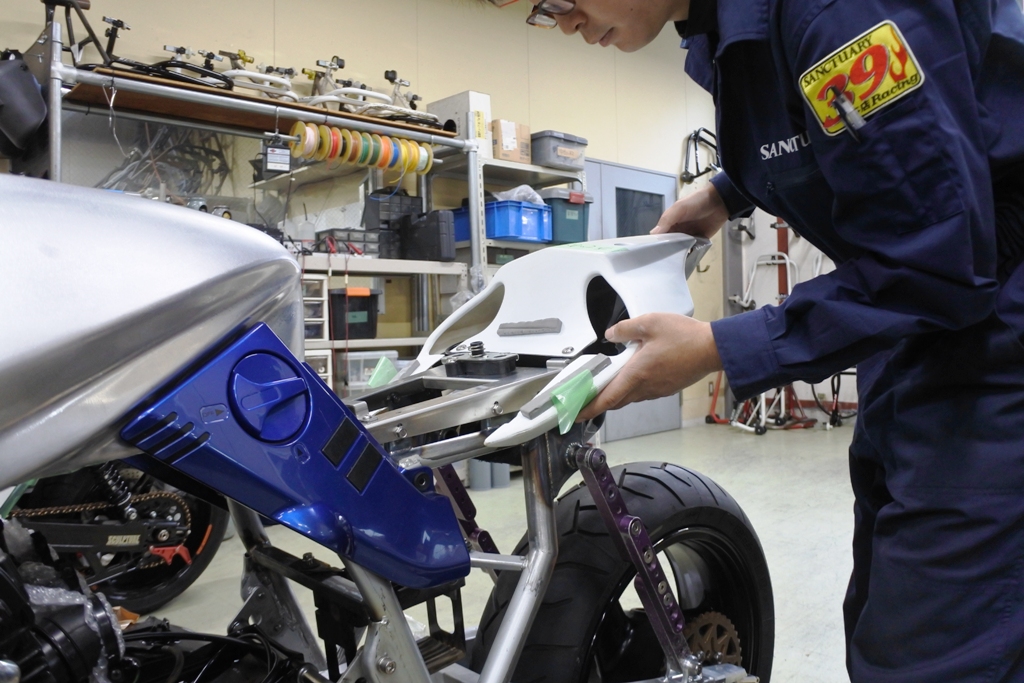
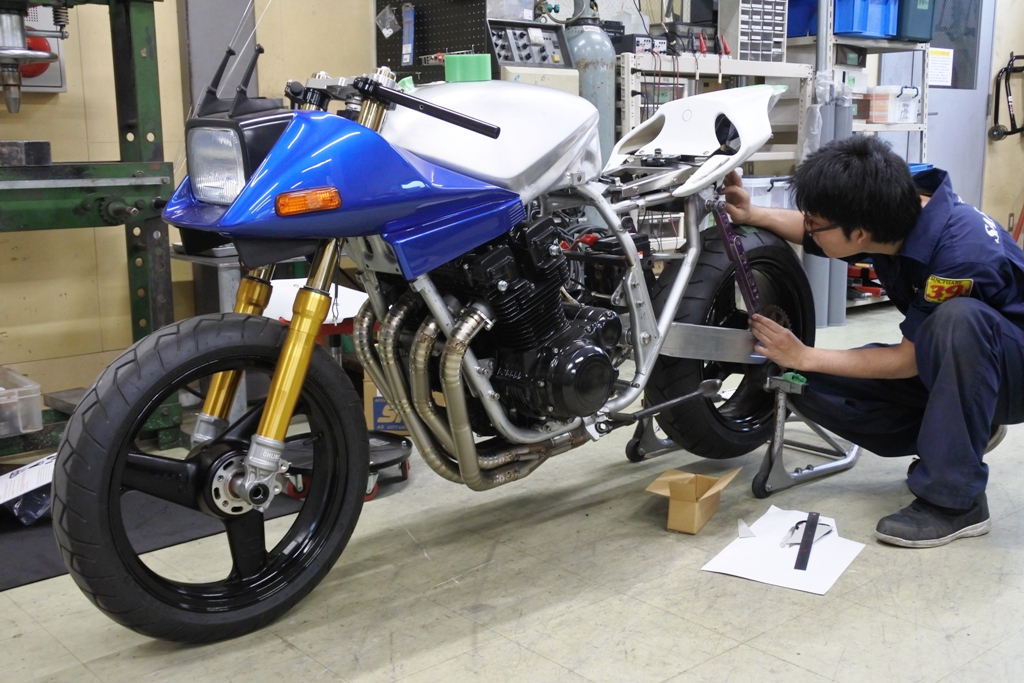
シートカウルは取り付けの位置や角度など、カタナのボディフォルムに似合う様
ベストな状態で取り付けたいので慎重に検証。
We are going through a careful verification process to make sure to find the best position and angle when installing the seat cowl.
先ずはシートカウル前側固定用のコンパクトなブラケットを製作しました。
We first created the fixing bracket at the front side of the seat cowl.
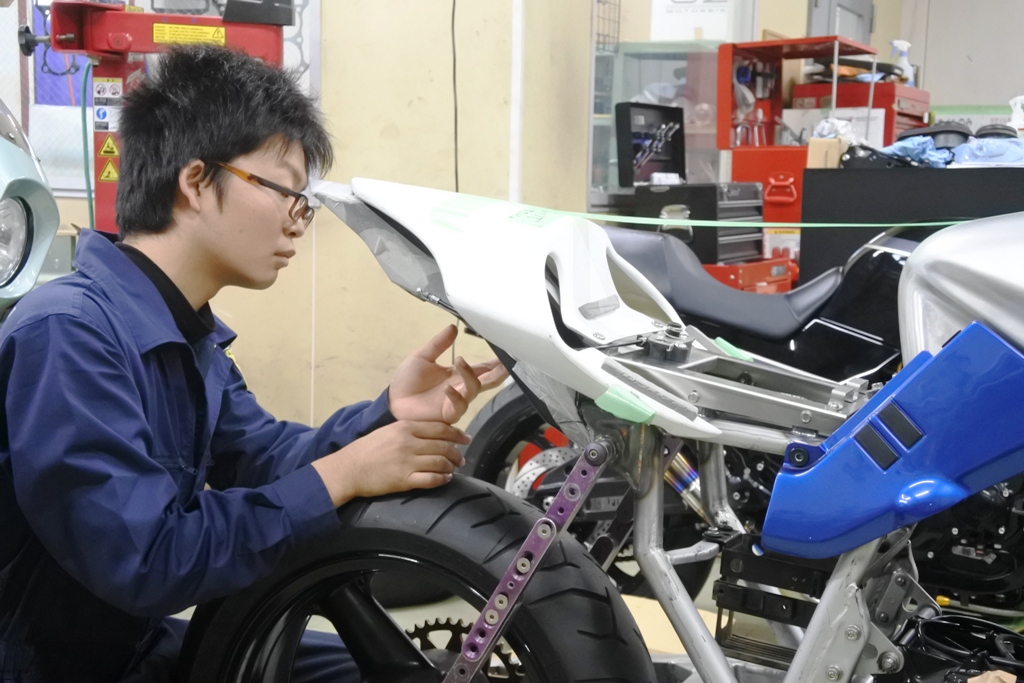
シートカウル後部セクションのブラケットは同時に裏側に取り付けられる
インナーフェンダーも絡むため より複雑です。
The bracket at the rear side of the seat cowl is complicated, as it also involves the inner fender that will be installed on the reverse side.
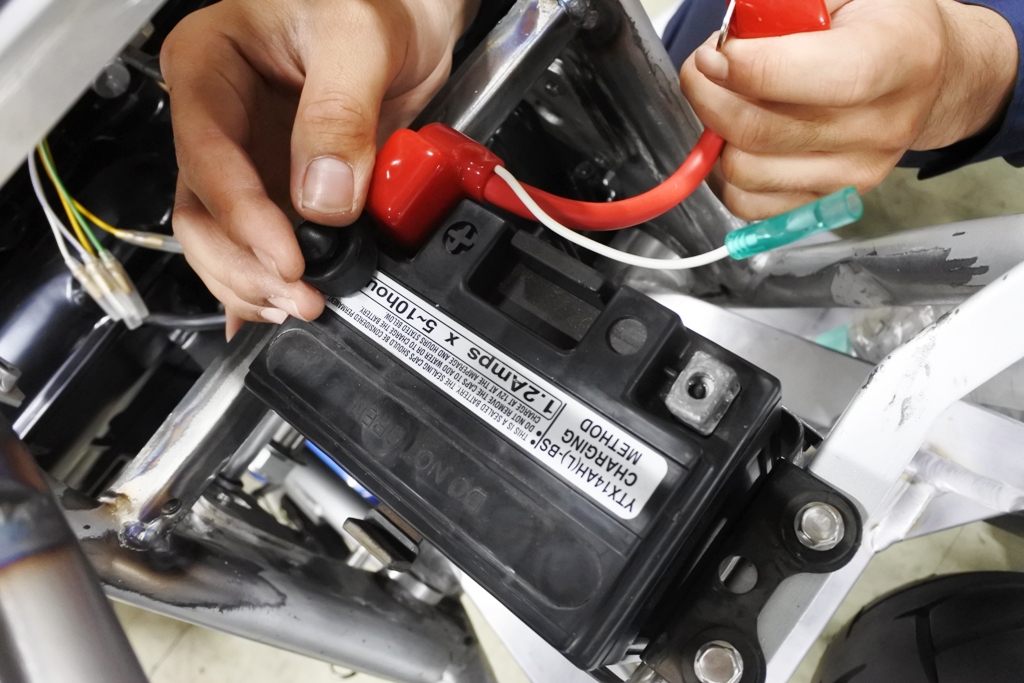
ワイヤーハーネス等を通すスペースも考慮して行かなければなりませんから
暫定でバッテリーも搭載。
We also need to take into account the space for fixing the wire harness, so we temporarily mounted the battery.
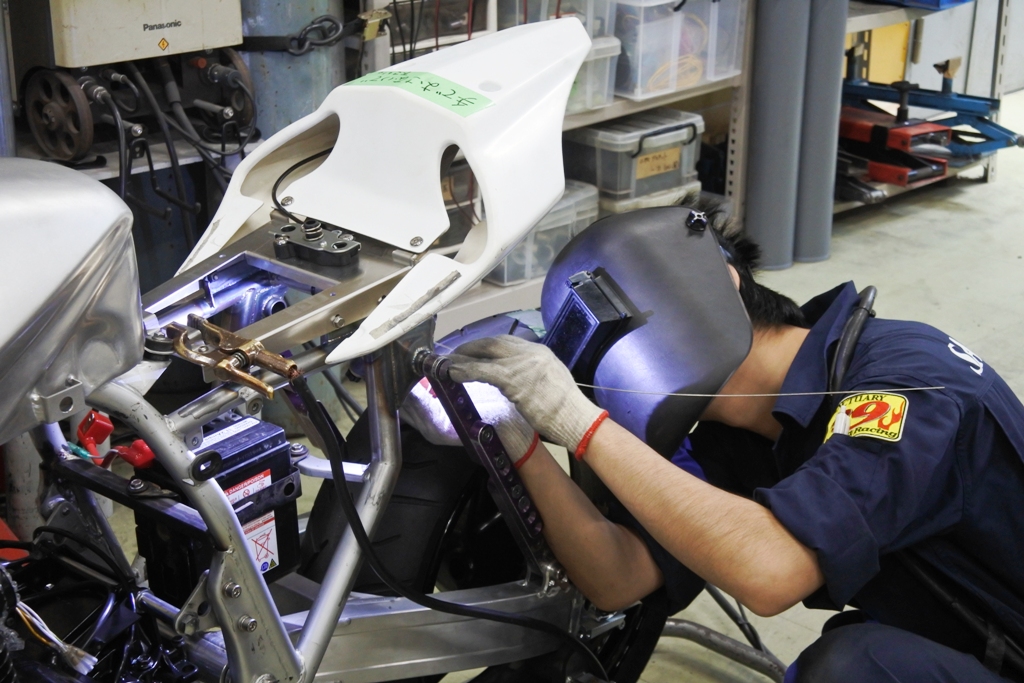
曲げ込んで単品製作したアングルブラケットをフレーム側に溶接します。
Welding the bracket we made by bending on the inside, to the frame side.
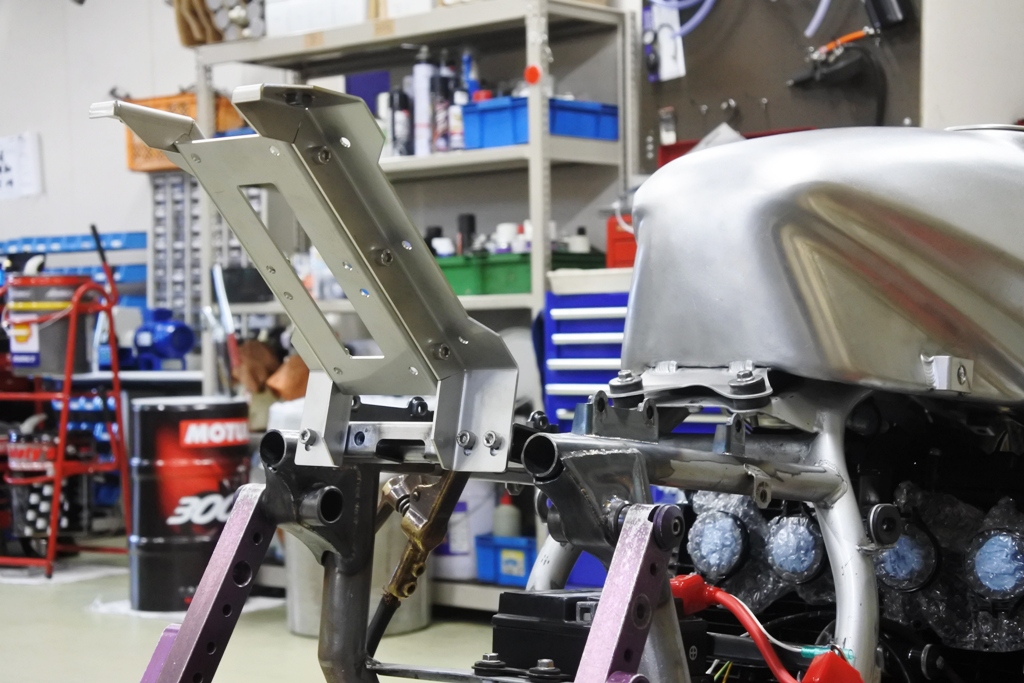
まだこのあと複数のパーツ製作が必要ですが、シートカウル後部セクションの
ブラケット主要部が出来上がりました。
There are still many parts to create after that, but the main part of the bracket at the rear side of the seat cowl is now ready.
Mr.Diaz~!
次回はシートカウル回りに必要な造り物が概ね完了するかと思いますよ~っ!
もう少しで車体の溶接や単品製作ものが終わりますから、間もなく次のステップに
進みますね~!
Mr. Diaz!
We think the processing works around the seat cowl will basically be completed next time! Just a little more time and welding to the body and production of unit parts will be over, so we will go to the next step pretty soon!
To Be Continued