こんにちは!サンクチュアリー本店の中村です。
Hello Everyone! I am Nakamura, representative director of Sanctuary’s headquarters.
ラスベガス在住 Mr.A Diazからお預かりした GSX1000Sカタナ(Partー11)です!
This is GSX1000S Katana (Part-11) shipped from Mr. A Diaz in Las Vegas!
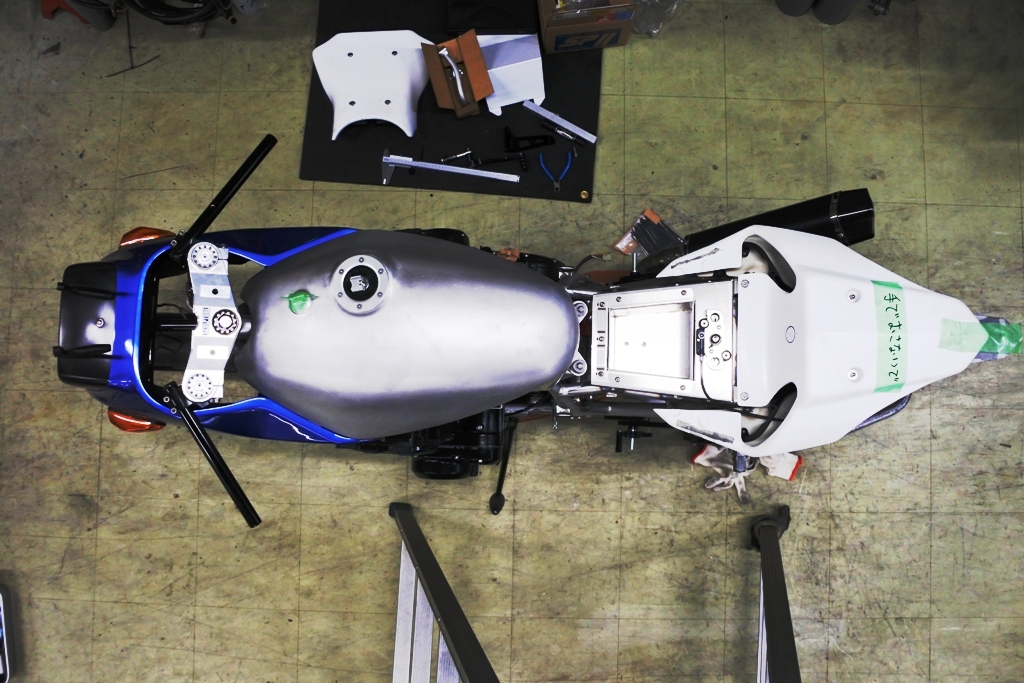
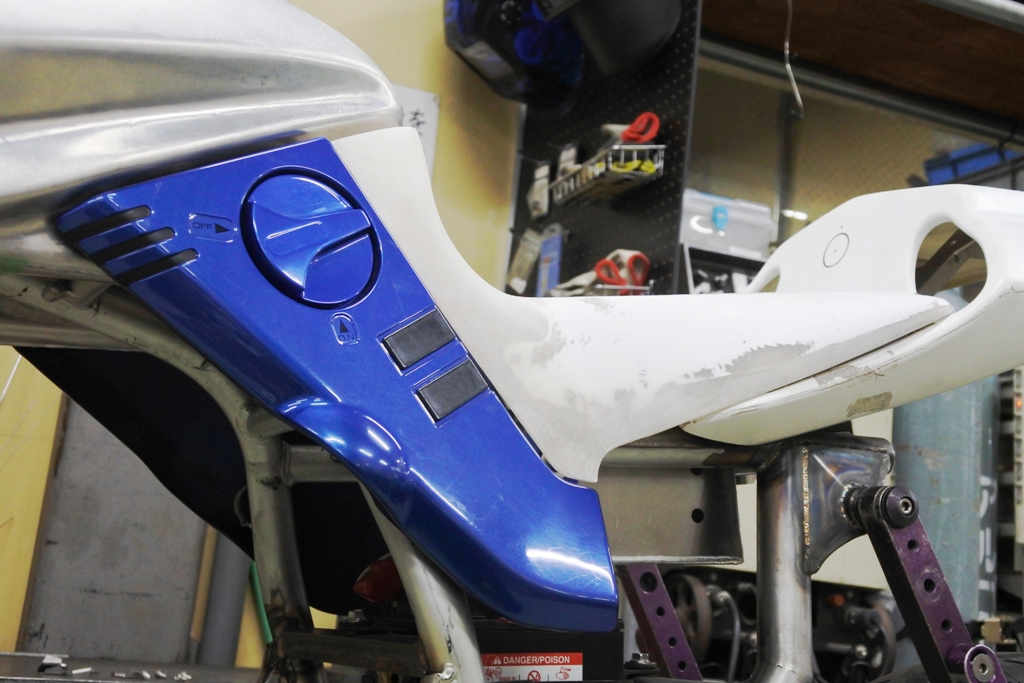
シングルシートやアンダーカウルなど、外装パーツのフィッティング加工が
だいぶ進んだ RCM‐500。
Significant progress has been made on the processing for external parts such as the seat cowl and under cowl for the RCM-500.
最も手間のかかるセクションがようやく完了したので、続いては再び分解・・・
The most time-consuming section is complete, so the next step is to break it down again…
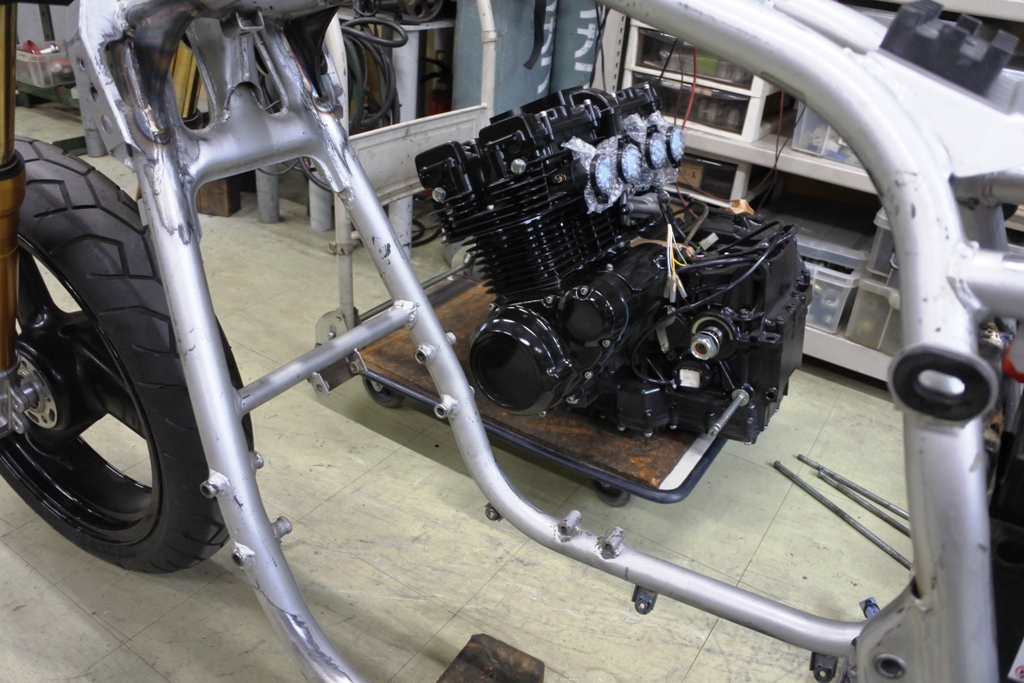
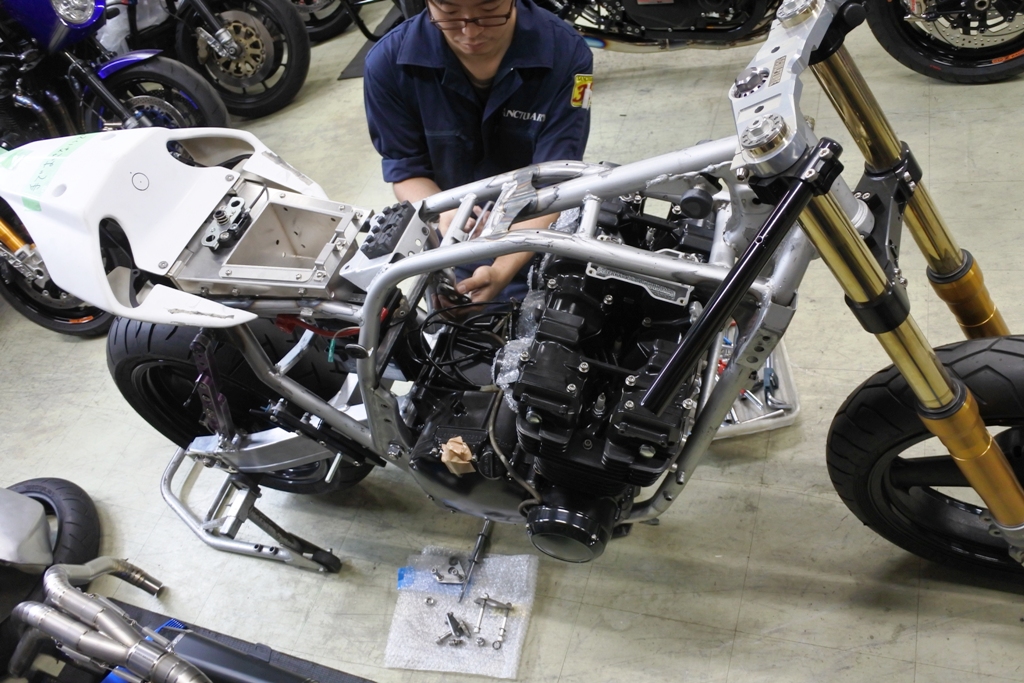
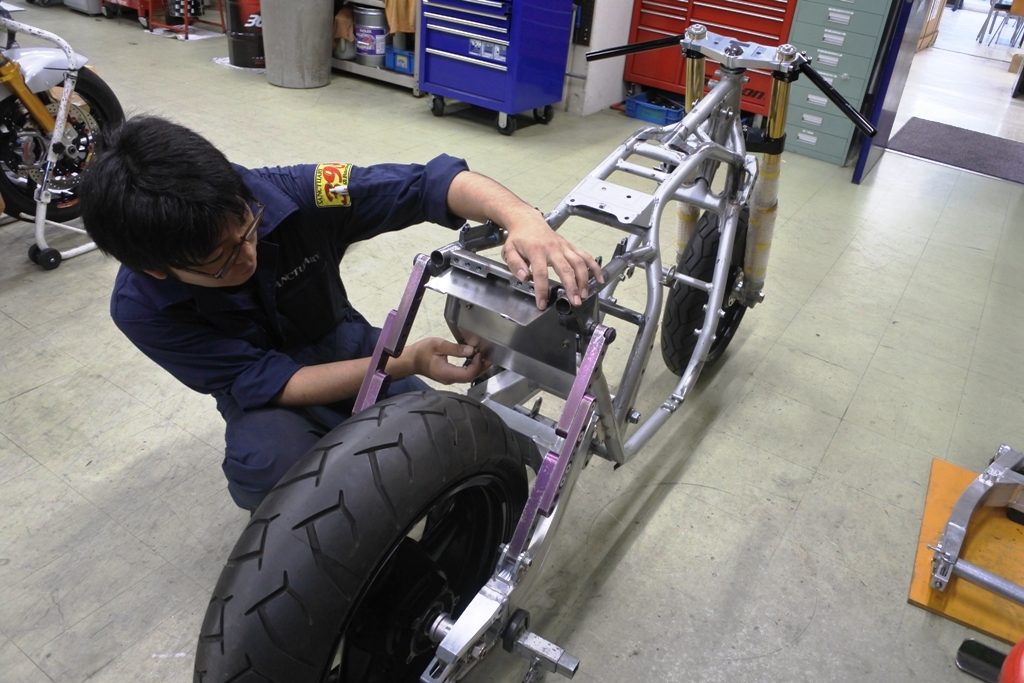
エンジンも下ろします・・・ 何度も下ろしたり 積んだり・・・(苦笑)
The engine will also be lowered… Everything gets lowered and stacked (wry smile)
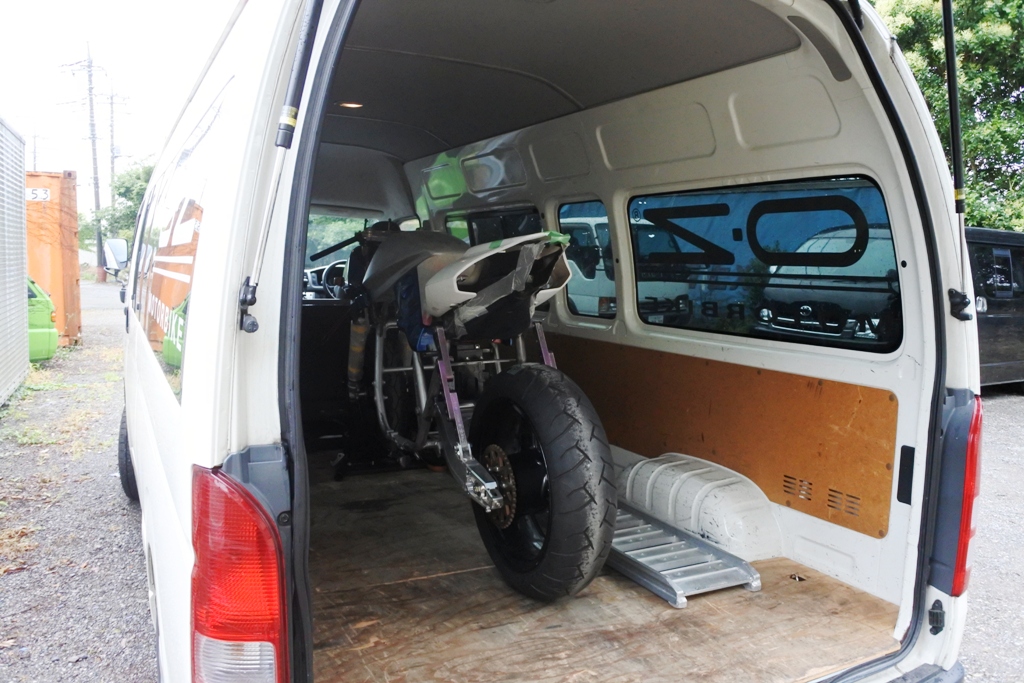
ローリングシャシーの状態で車に積み、やって来ましたのは・・・
Stacked on the car in a rolling chassis state, it’s…

RCMではいつもお馴染みのYFデザインです!
The always familiar YF design for RCM!
YFデザインの加工によりシート着座部分はファイバー成型でご覧の様に・・・
Through the YF design processing, the sitting portion of the seat uses a fiber structure as you can see…
この後はフレーム加工で残っている作業を終わらせる事にしましょう。
Next, let’s finish up the remaining work for the frame processing.
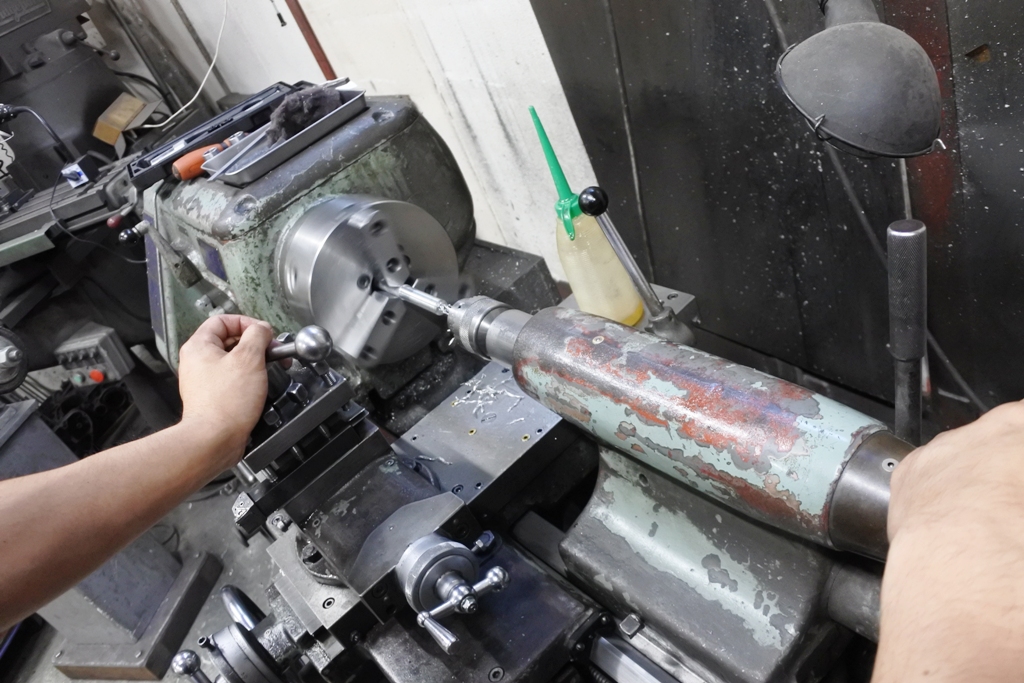
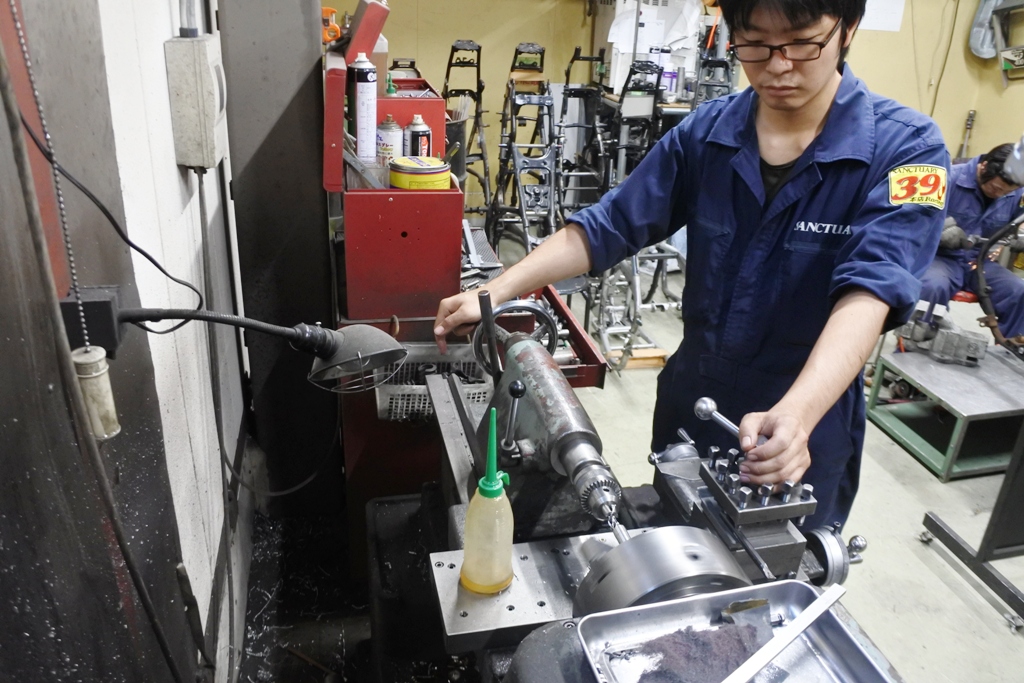
これより行う加工がまた大変なメニューでして、まずは専用治具に使用する為の
部品を旋盤で削り出します。
The processing to be carried out next is pretty tough as well. First, the parts used with the jig need to be machined with a lathe.
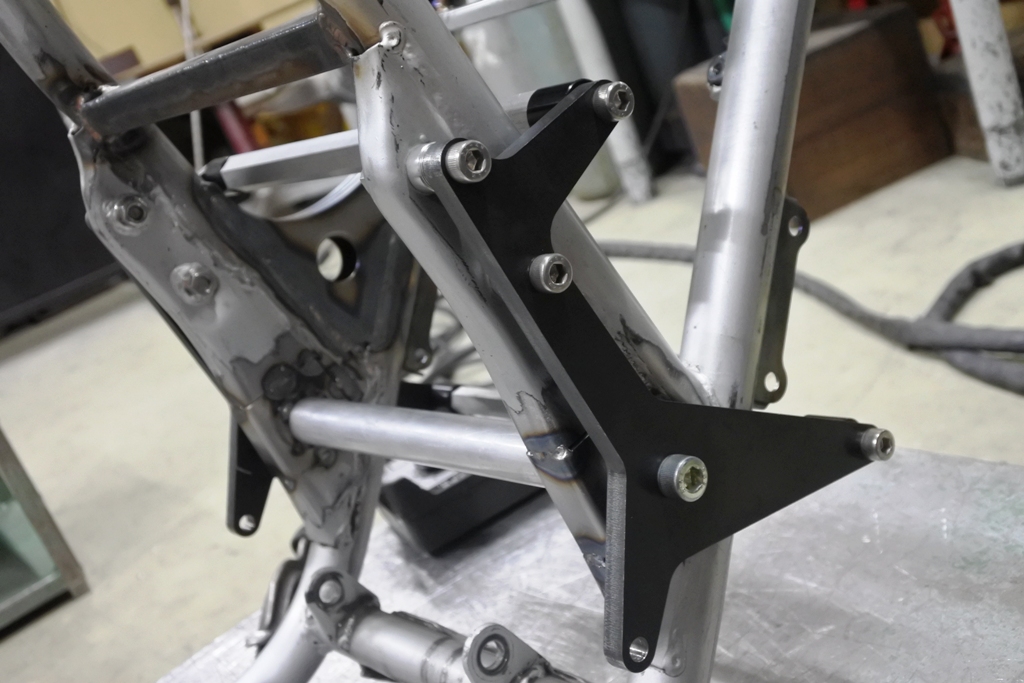
当初のメニューにはなかったものなのですが、車体全体像が具体的に見えて来るに
つれ 行うべきと判断した加工。
These steps weren’t part of the initial lineup, and this processing should be carried out as you get a sense of the bird’s-eye view of the vehicle as a whole.
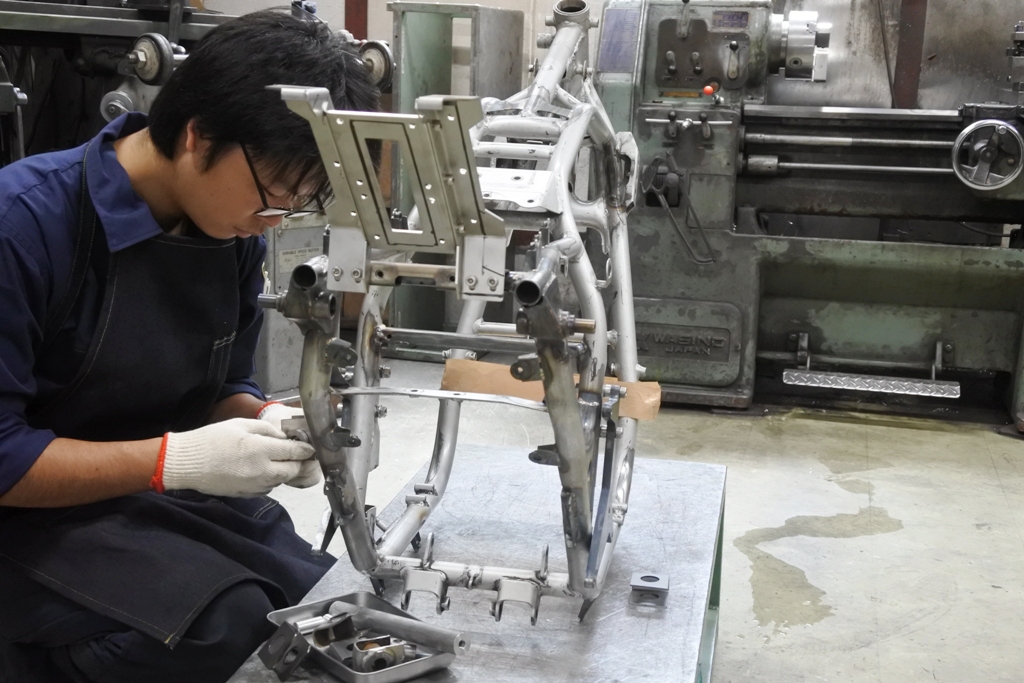
スイングアームピボット部を7mmローダウンさせる為の加工です。
This processing is to set the swing arm pivot part 7 mm lower.
簡易的なものですがこれがピボット用の治具で、左右を繋ぐ複数のロッドを
全て組み付けたら完全固定し・・・
It’s a simple thing, but when all of the left and right connecting rods are assembled with the pivot jig, it’s firmly fixed in place…
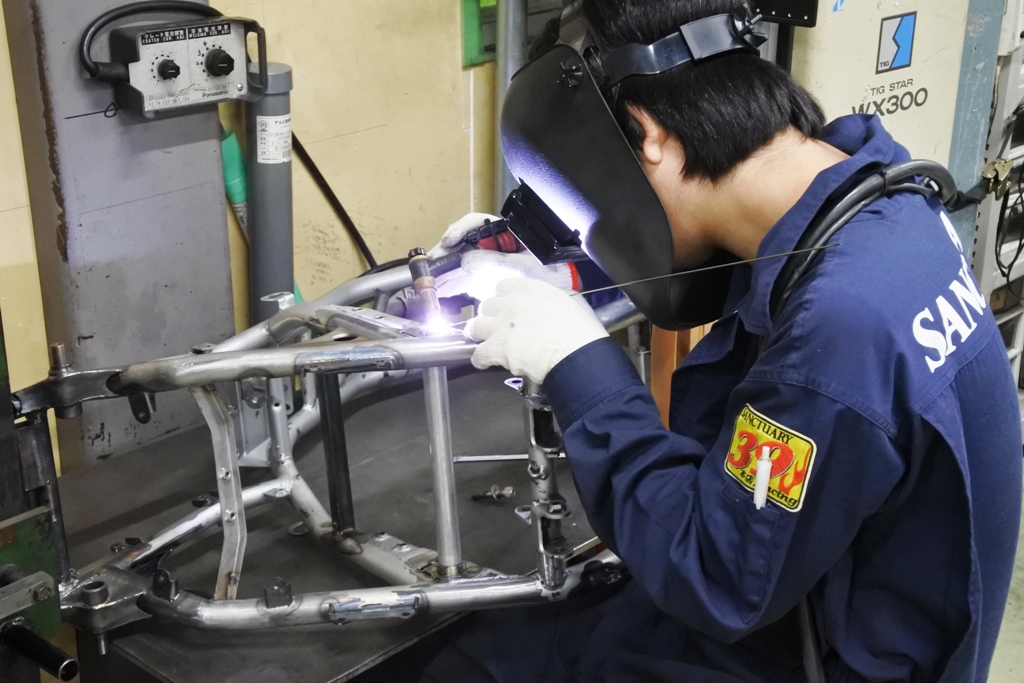
ピボット部の溶接に入りました。
Time to start welding the pivot part.
Mr.Diaz~!
次回はついにフレームが完成しパウダーコーティングへと送られます!
RCM‐500 カタナもいよいよ完成に向けて 最後の工程へと移行しますよ~!
Mr. Diaz!
Next time, the finished frame will be sent off for powder coating.
The RCM-500 Katana is finally reaching the last stages for completion!
To Be Continued